
Processing Videos in Python with OpenCV
Look up from your computer or your phone and glance around your surroundings. You can probably recognize objects around you instantly. Currently, I see coffee mugs, wine glasses, Christmas tree decorations, pine cones, pumpkins of various sizes and shapes, and a bear-shaped pepper and salt shaker holder. Recognizing objects using visual information is not a difficult task for many humans but, until recently, was relatively tricky for a computer. Increasingly large amounts of data are stored in forms of images and videos. Processing these types of data is becoming more important. In Biology, my field of research, image- and video-processing are commonly used in various data collections, ranging from estimating protein activities to monitoring animal behaviors. Manually analyzing videos and images is a labor-intensive task, and recent developments in computer vision have lessened the burden of data processing.
Computer vision is a field of computer science focusing on deriving information from images and videos. Computer vision technologies are used in object recognition and tracking, medical imaging, crop monitoring, autonomous driving, and other rapidly evolving use cases. There are many tools, libraries, platforms, and programming languages for computer vision. OpenCV is one of the most common tools for computer vision tasks. In this post, I am going to use the OpenCV library in Python to analyze and identify an object - a beetle - in the frames of a video. The code for the post can be found in this GitHub repository.
Install and Load OpenCV
OpenCV, or Open Source Computer Vision Library, is an open source library for computer vision. It can be used in other programming languages, and we will focus on opencv-python, the OpenCV package for Python. This package can easily be installed using pip. More detailed instructions for installation and usage can be found here
|
# Install OpenCV pip install opencv-python |
Once installed, import the package cv2 in Python.
|
importcv2 |
Read Video Files
Now we are ready to analyze a video file using OpenCV. A video is a series of images organized in an order, and each image in a video is called a frame. For my research, I analyze high-speed videos of insects flying. High-speed video cameras record more frames per second (for this example video, 900 frames per second) than regular cameras and then put those images together in a common frame rate (30 frames per second or fps). I am using a video from a camera with fixed position to simplify our image processing problem. My video file shows beetle flight:

In my codebase, this video is called “beetle_flight.avi”. We can use cv2.VideoCapture() function to create an object that represents the video in Python and work with the video file.
|
avi_name = “beetle_flight.avi” video = cv2.VideoCapture(avi_name) |
Extracting Frames from Videos
A video is an ordered collection of frames. Processing a video file involves processing frames. In order to identify an object in a video, we have to examine frames for the video. In this section, we will extract the first frame with an object and the last frame without an object to identify the object.
Videos have different properties, such as resolutions, frame rates, and duration, which impact how we analyze them in OpenCV. A VideoCapture object contains information about the video properties, which can be accessed through specific variables in cv2. For example, some properties include:
-
CV_CAP_PROP_FRAME_WIDTH: width of the frames in the video.
-
CV_CAP_PROP_FRAME_HEIGHT: height of the frames in the video.
-
CAP_PROP_FPS: frame rate (frames per second).
-
CAP_PROP_FRAME_COUNT: the number of frames in the video file.
-
CAP_PROP_POS_FRAMES: Zero-based index of the frame to be decoded/captured next.
In order to obtain values for these VideoCapture properties, we will use the get() function. For example, the number of frames in this video file can be accessed with the following code:
|
# Obtain number of frames in a video video.get(cv2.CAP_PROP_FRAME_COUNT) |
Now, let’s extract the first and the last frames from the video. We can use the set() function to set a property in the VideoCapture. The first frame has an index of 0, so we set the position of the CAP_PROP_POS_FRAMES to 0, and use the read() function to store the specific frame into a variable named first_frame. If such a frame exists, the first returned value from the read(), named check, will be True
We will use a similar method for the last frame. In this case, instead of 0, we will calculate the last index by hand by using the frame count, CAP_PROP_FRAME_COUNT:
|
# Set to the first frame in a video video.set(cv2.CAP_PROP_POS_FRAMES, 0) check, first_frame = video.read() # Set to the last frame in a video video.set(cv2.CAP_PROP_POS_FRAMES, int(video.get(cv2.CAP_PROP_FRAME_COUNT)) - 1) check, last_frame = video.read() |
We can save the captured images using imwrite() function in cv2:
|
cv2.imwrite('first_frame.png', first_frame) cv2.imwrite('last_frame.png', last_frame) |
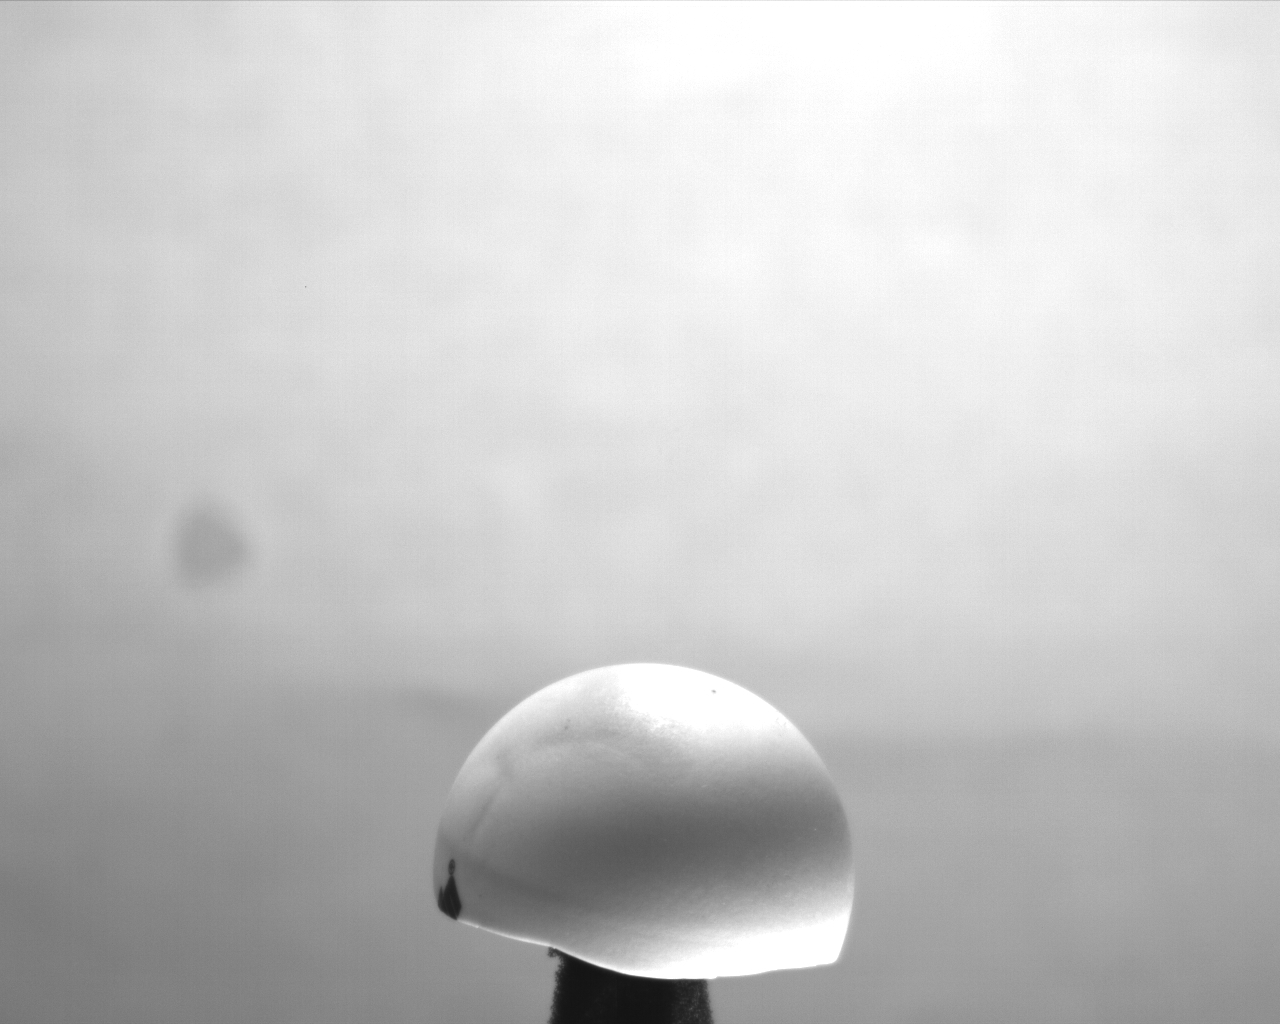
The first frame (top) and last frame (bottom) look great:

Comparing Two Frames for Contours
To identify the location of an object and place a rectangle enclosing the object, we need to find the outline of the object. A contour is an outline of an object or a shape. We can obtain a contour of the beetle from the first frame with three steps. First, we turn both frames into grayscale. Although the video is in black and white, it is not in grayscale. Each pixel of the frame contains a triplet of red-green-blue values. A grayscale image contains only one value for each pixel, indicating intensity of the pixel instead of red-green-blue values for each pixel. Second, we compare these grayscale images to obtain where there are differences between two frames using absdiff(). This function takes the absolute difference between values for each pixel. Third, we use threshold() to mark each pixel where the differences between two frames are above the threshold value we set.
|
# Grayscale last = last_frame[:, :, 0] first = first_frame[:, :, 0] # Difference between two frames threshold_value = 12 differ_frame = cv2.absdiff(first, last) thresh_frame = cv2.threshold(differ_frame, threshold_value, 255, cv2.THRESH_BINARY)[1] |
When we compare the first frame and the last frame, we obtain a shadow of the beetle in differ_frame. The pixels appear black when there is little differences between two frame:
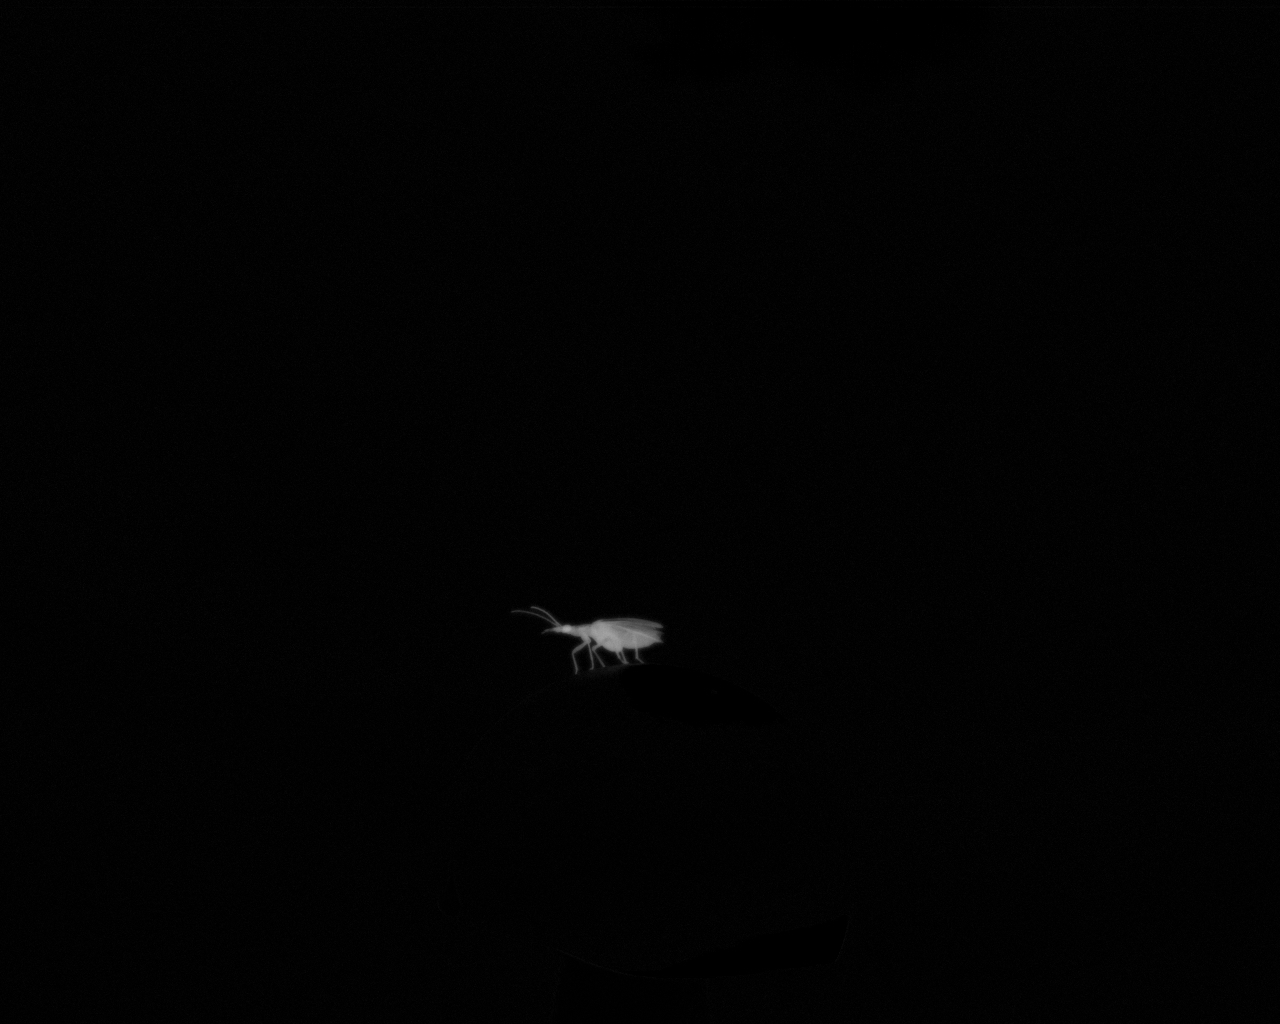
Now we can identify the contour of the beetle by selecting pixels with big differences between two frames. Pixels with large differences will appear white in the thresh_frame:

Identifying Object with Contours
Our goal is to place a rectangle around the object from the video. What we have from thresh_frame are multiple white pixels, and this list of white pixels is not a contour yet. OpenCV has a findContours function that identifies and stores contour information from an image. With this function, we can obtain a coordinate where the contour begins. However, there might be more than one contour for the white cloud of pixels we observe in thresh_frame. So we use for-loops to go through each contour to remove contours that are too small. Since we have one beetle in the image, we should have one contour. For the contour, we obtain the x coordinate, y coordinate, width, and height of a rectangle that encloses the contour. We can use this information to put a green box (RGB color for green is 0, 255, 0) that has one corner at (x, y) and another corner at (x+w, y+h) with a thickness of three using a handy function rectangle() that places a rectangle in a image.
|
# Find contours cont,_ = cv2.findContours(thresh_frame.copy(), cv2.RETR_EXTERNAL, cv2.CHAIN_APPROX_SIMPLE) # Filter contours that are too small for cur in cont: if cv2.contourArea(cur) < 10: continue (x, y, w, h) = cv2.boundingRect(cur) # Put a green box in the first_frame cv2.rectangle(first_frame, (x, y), (x + w, y + h), (0, 255, 0), 3) |
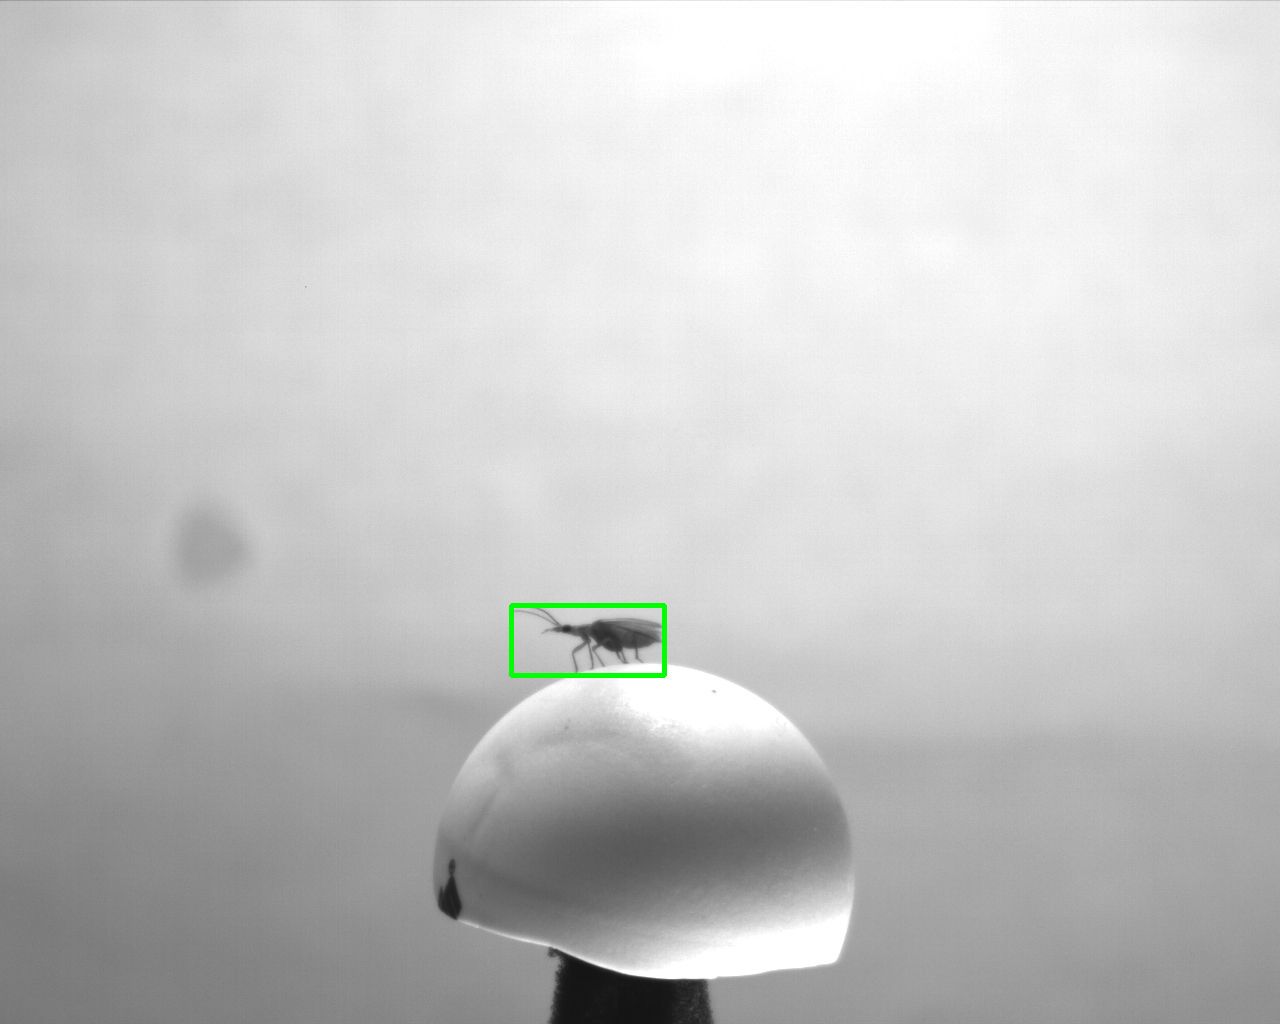
This is the final output. The green box is where the beetle is. We have correctly identified the object and modified our frame to indicate the location of the object:
We can apply the same steps to different frames in the video to recognize and mark the location of the beetle in every frame. The same method could be used for any video from a fixed camera to carry out object recognition and tracking.
OpenCV is a great tool for computer vision projects. What we’ve explored in this post is only a fraction of what this package can do!